
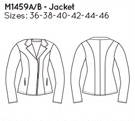
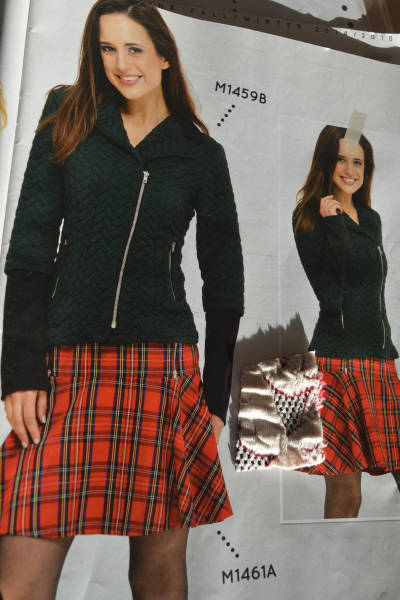
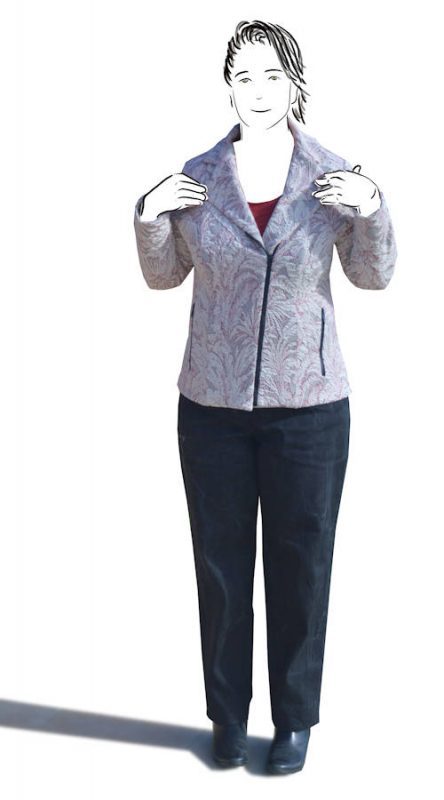
This knit jacket is from the pattern for the pinky-grey jacket featured on the cover of My Image 9 (Fall/Winter 2014/15). The magazine shots show view B, which has a colour blocked layered-look sleeve. View A has a plain sleeve. There is a mistake in the tech drawing – the front princess seam actually runs from the shoulder rather the armhole. This was another pattern that was on my wishlist as soon as I saw it. So since the top I made from the previous edition went so well, I decided it was good time to sew it up.
The fabric is a textured jacquard knit that I bought last year from KnitWit with this pattern in mind.

Sizing & Pattern Layout
Like all patterns, I check the finished garment measurements to determine which size I want to trace off. This corresponded with the size recommended by the size chart. So that is 2/2 patterns where I’ve used the recommended size – whoohoo!
The patterns are designed for a height of 170cm / 5’7″ ( ie 5″ taller than me) but the bust-point and body-length worked out right for me. The sleeves needed shorten though. I wanted to put the centre back on the fold, so I tweaked the back princess seams to account for the CB dart that I removed. No major adjustments. There were no notches on the front pieces, so I added a couple to the princess seam, to mark the bust and waist.
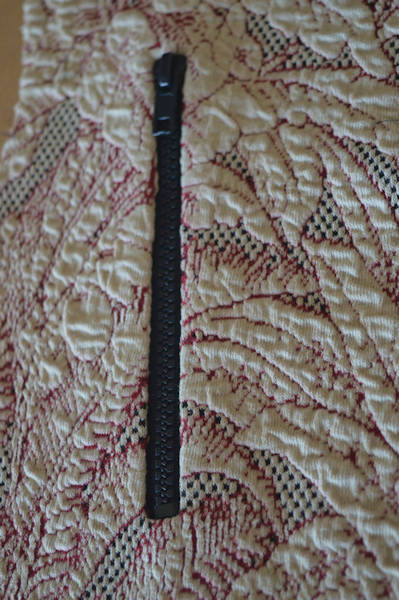
I also added alignment notches for the zipper edges, marking the zipper ends and midway point. The zipper I used was longer than the one suggested in the pattern as I wanted to zip the jacket up a bit higher. The standard red and cream zippers at the local shops didn’t match well with the fabric so I had to go with black. I used chunky black zippers to reflect the black chequerboard pattern in the fabric.
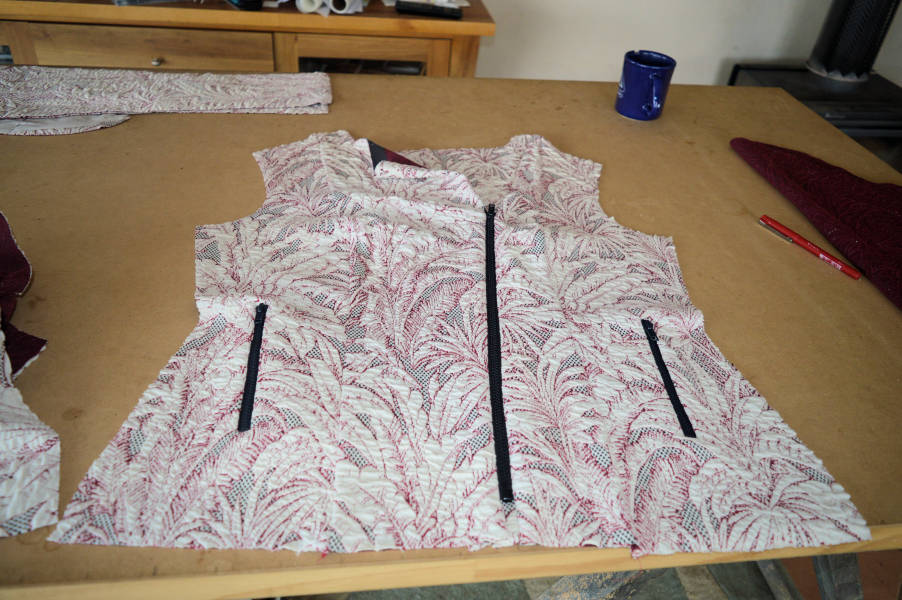
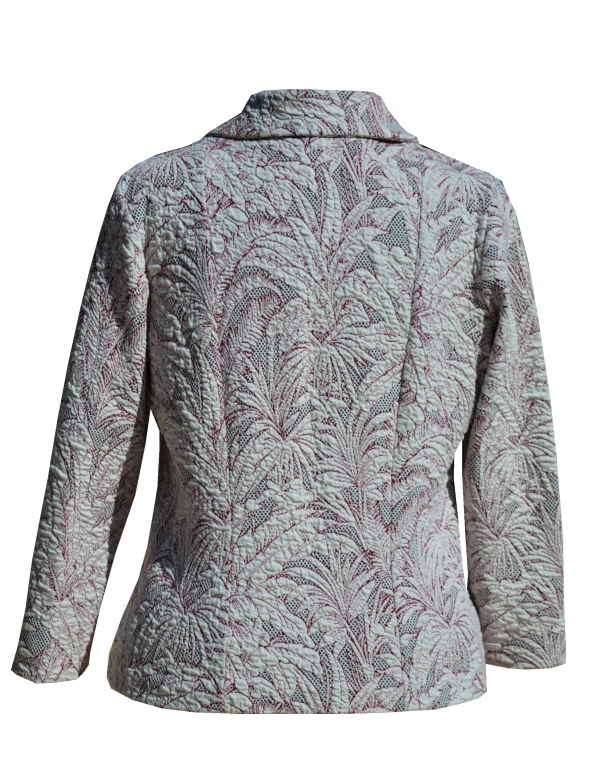
I wanted to preserve the pattern on the fabric as much as possible so each piece was cut separately as a single layer. For the back, I cut the CB on the fold to show off the palm pattern and matched the side seams as close as possible. I took more care on the front – matching all centre front pieces across the zipper. The front side panels were cut to get a good flow of the pattern without trying o make it perfect. Similarly the sleeves were chosen to show off the palm motifs and be roughly mirrored in terms of the motifs. The main focus was getting the centre front and centre back right and then roughly matching the other pieces so the pattern blended across the seems.
Construction
The magazine instructions are in English, Dutch, German and French and similar to Burda magazine instructions in terms of briefness. I’ve noticed the instructions have been improving with subsequent editions and for the most part the instructions were pretty good. Just a few translation issues with the main zipper instructions, but the gist is there.
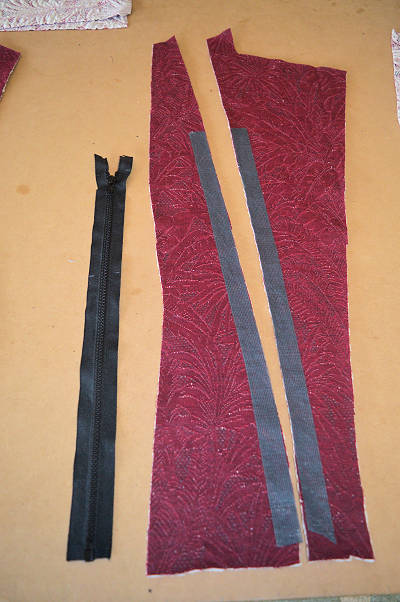
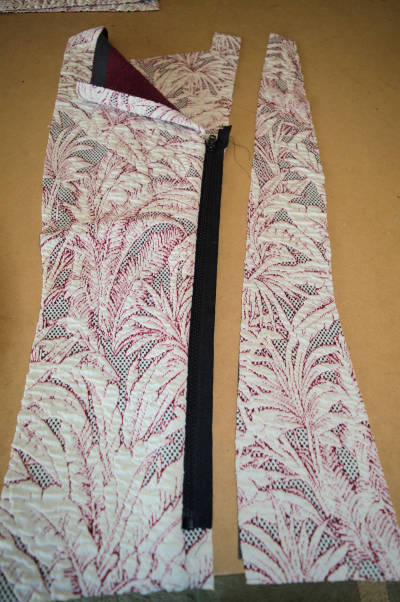
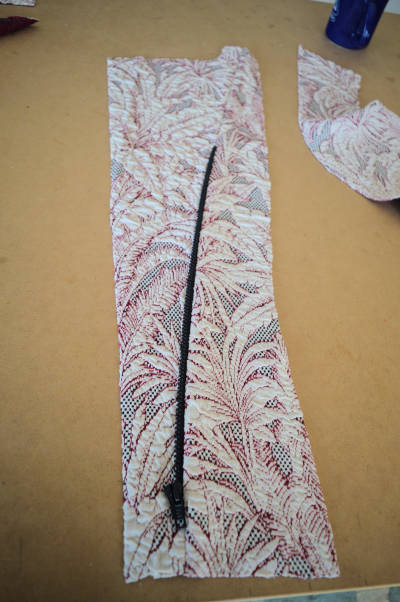
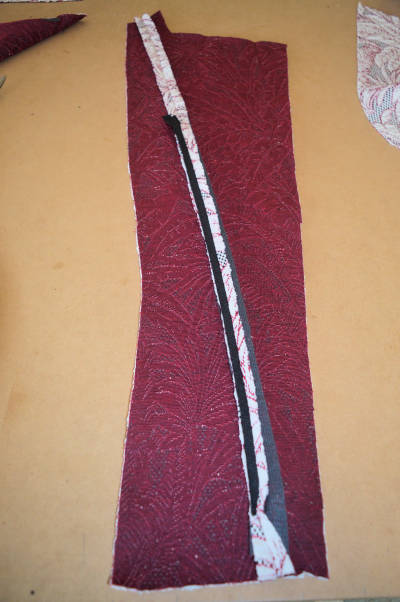
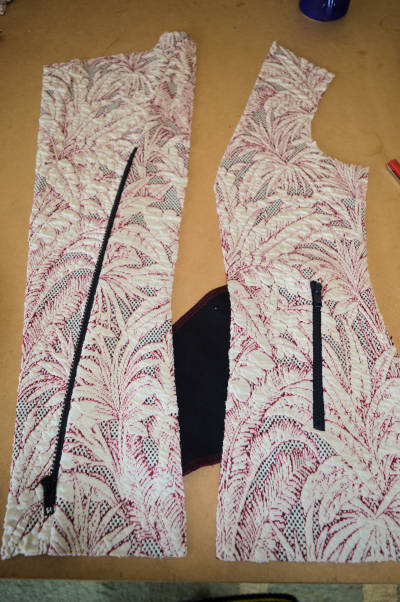
I changed the construction order by doing all the zippers first. This way the pieces are smaller (less to fight with at the machine) and any major stuff-ups happen first, rather than last. For the main zipper, I used a fusible stabilizer tape ( a Villiene product) on each edge that attaches to the zipper to prevent buckling as the fabric is puffy and stretchy. The steps are shown below – click on an image to enlarge it.
The rest of the construction is straightforward and very quick. Because of the texture in the fabric, I haven’t topstitched. The facings and hem were blind-stitched by hand – slow but a good finish.

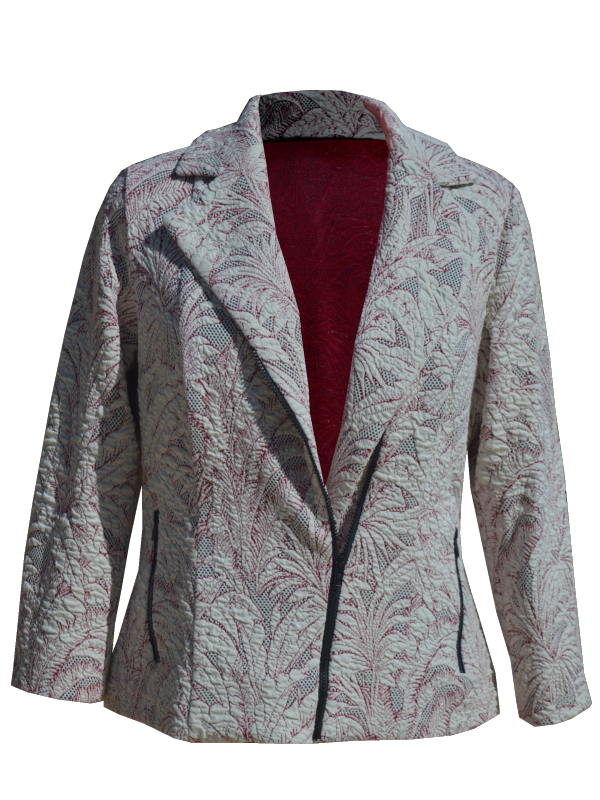
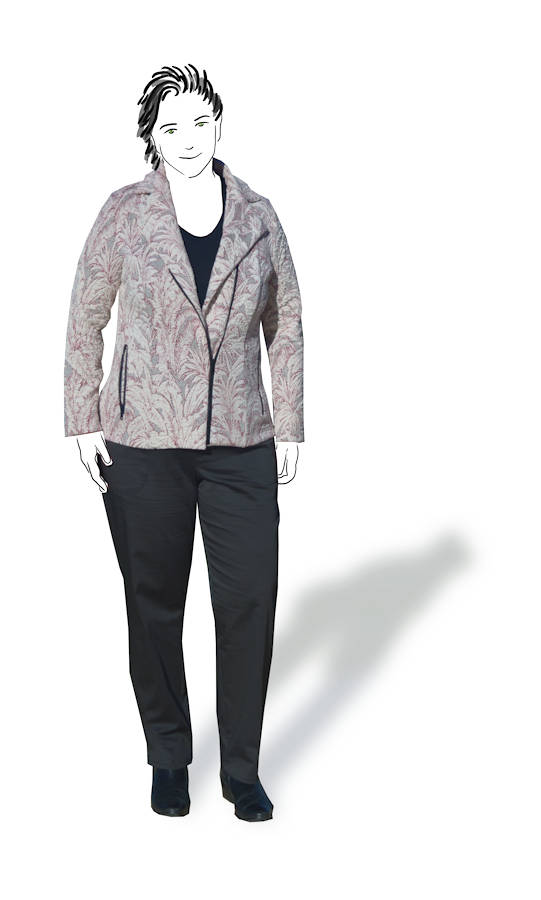
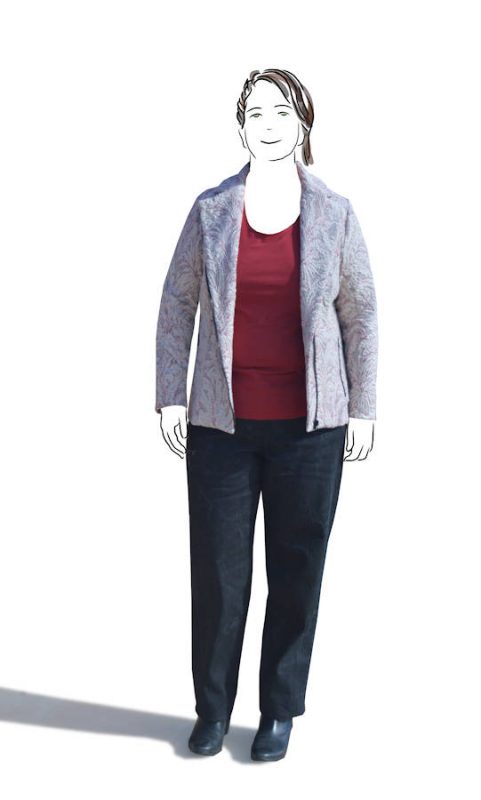
The finished jacket
The fit turned out to be perfect and the jacket is so cosy to wear. So glad I finally got into gear and made this pattern. (click on image to enlarge)


At a Glance:
| Pattern | M1459 from My Image 9 (Fall/Winter 2014/15) |
| Type | Biker jacket for sweater knits |
| Fabric | Jacquard knit (Cotton, poly, spandex) from Knitwit |
| Difficulty | 3/5 – Hardest part are the zippers |
| End Result | 5/5 – A definite favourite |
| Cost | $45 + pattern |

Love your new jacket! I saw that fabric in Knitwit, but couldn’t decide what I would use it for so left it there. 🙂
LikeLike
Fab jacket!
LikeLike
Gorgeous and amazing attention to details.
LikeLike