
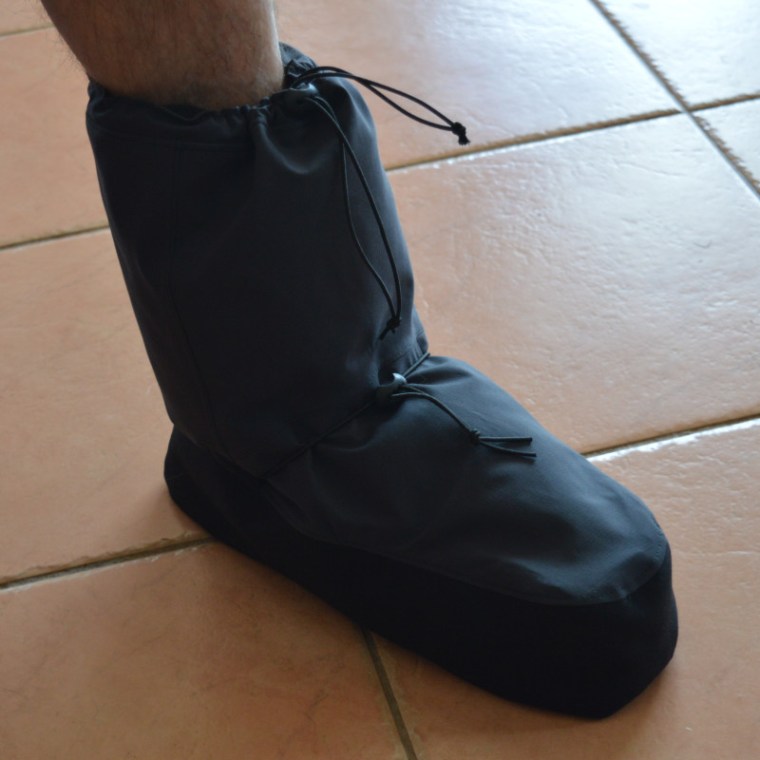
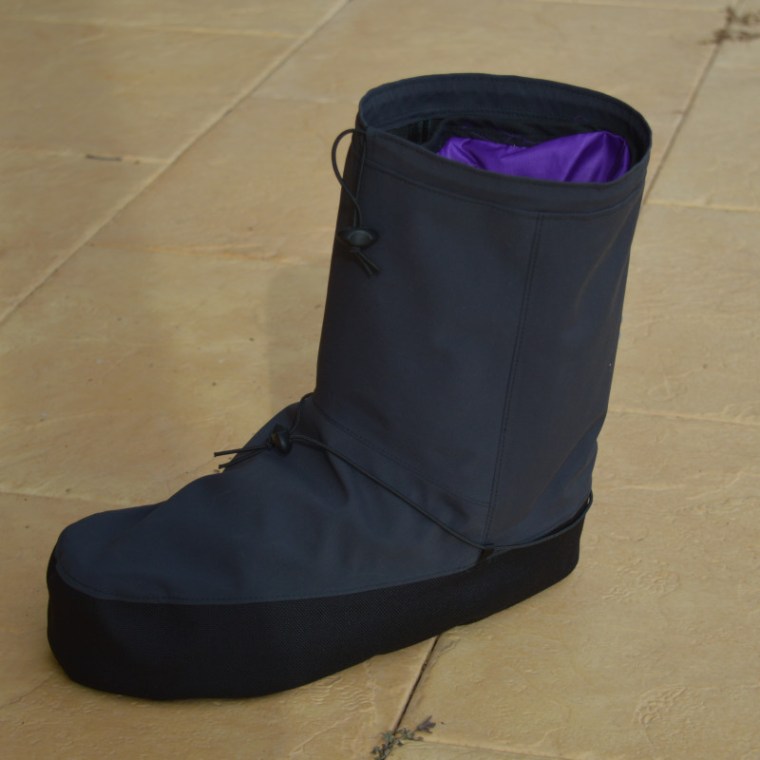
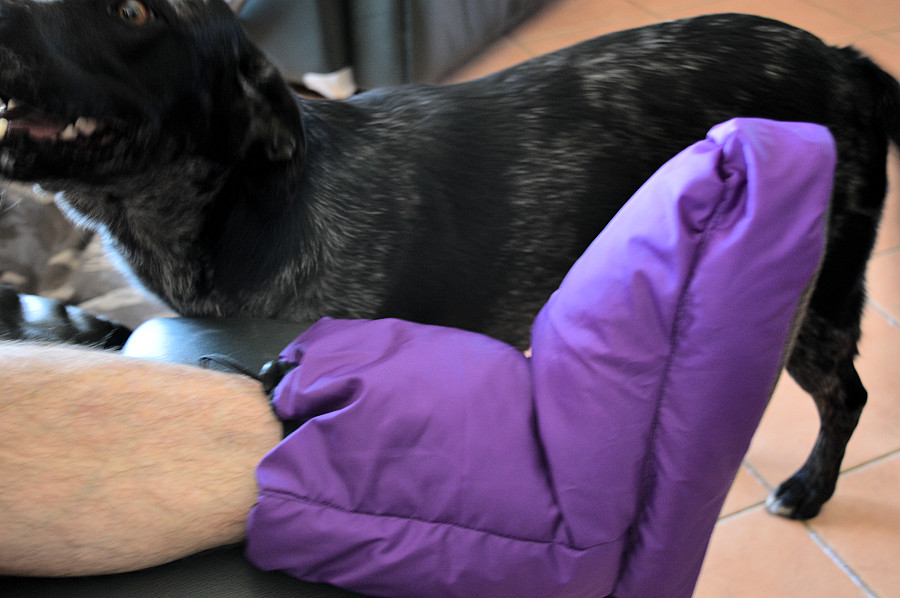
Tadahhh! We have one left hut boot ready for Christmas. He’ll have to wait for the second as we’ve just started the first heatwave of the summer. As much as I love him, I’m not willing to be stuffing goose down into the liners when its above 400C. Here is a pic of the final product.
The mock-up of the hut boot turned out to be a good fit. Just a couple of minor adjustments – moving the ankle ties lower and adding more height on the leg. I had a bit of a chuckle with the height. He got me to lower it on the first draft, and now it is back where I’d originally had it. One issue was that his foot was sliding forward or off the foam insole. I was planning on stitching the inner lining down onto the sole, so that should keep the foot in the middle of the sole, with an even width of padding around it.
The boot definitely needed baffles as the filling almost disappeared from the leg area. And then there was the issue of waterproofing it if the outer skin was Goretex. Quite a few of the hut boots I looked at weren’t waterproof because of this. I conviced him that making a separate waterproof shell and down inner was a good way to go. I had a nice rational arguement about being able to wash in inner, or dry it quick if it got wet, or swap in a fleece inner for warmer conditions, easy t
o repair etc, etc. Yes, it’s more weight but the outer will be waterproof. If that didn’t work, the old “stiff bickies, it’s what you’ll get” did the trick 🙂
After a bit of googling on DIY sleeping bags and baffle designs (and a sleepless night trying to figure out a need construction sequence), I came up with a ‘cunning plan’. A true baffle design was doing my head in as I though I’d need C shape baffles to handle the different diameters of the inner and outer. A sew-though design, like quilting, wasn’t ideal as there was little insulation at the stitch-lines.
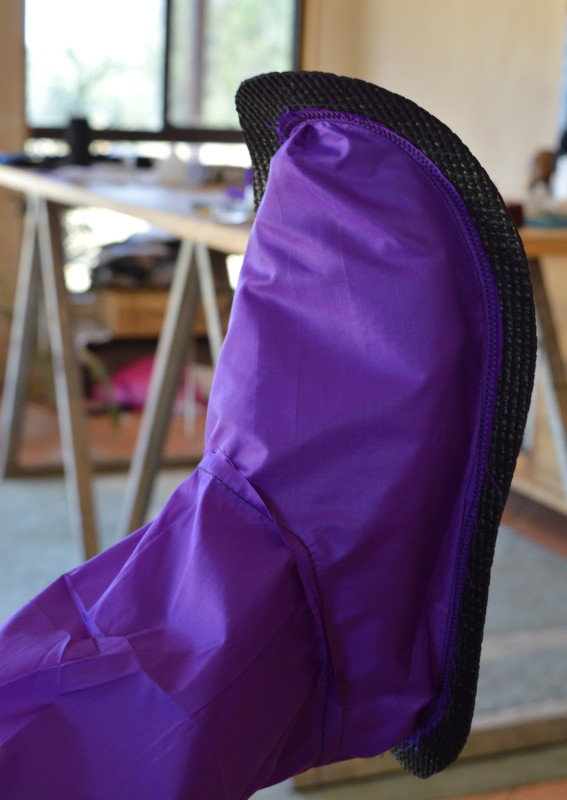
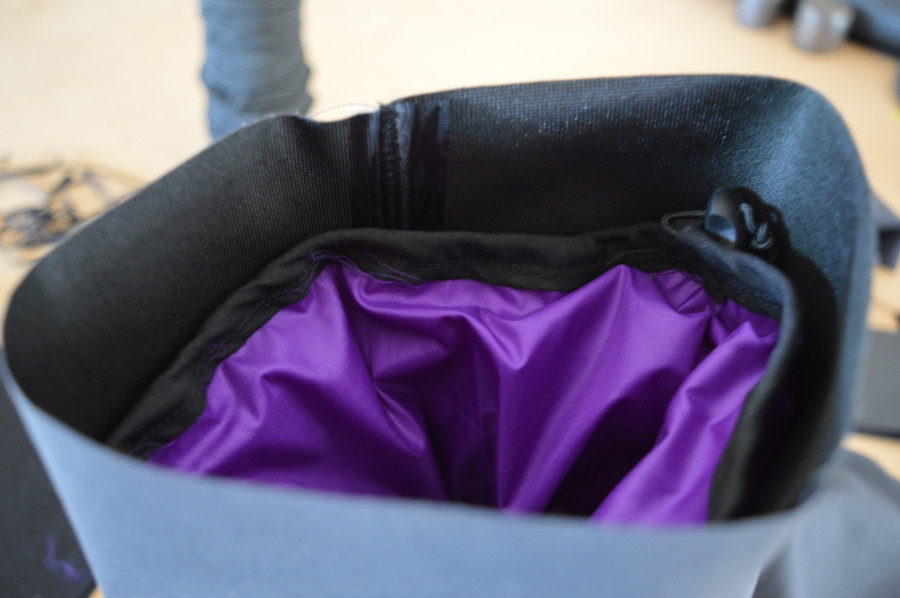
Instead, I used the pattern for the outer shell, with each section sewn as down filled pillows. When it is inside the boot, the pillows will be constrained by the outer shell, bending around the foot and closing the gaps formed by the seams.
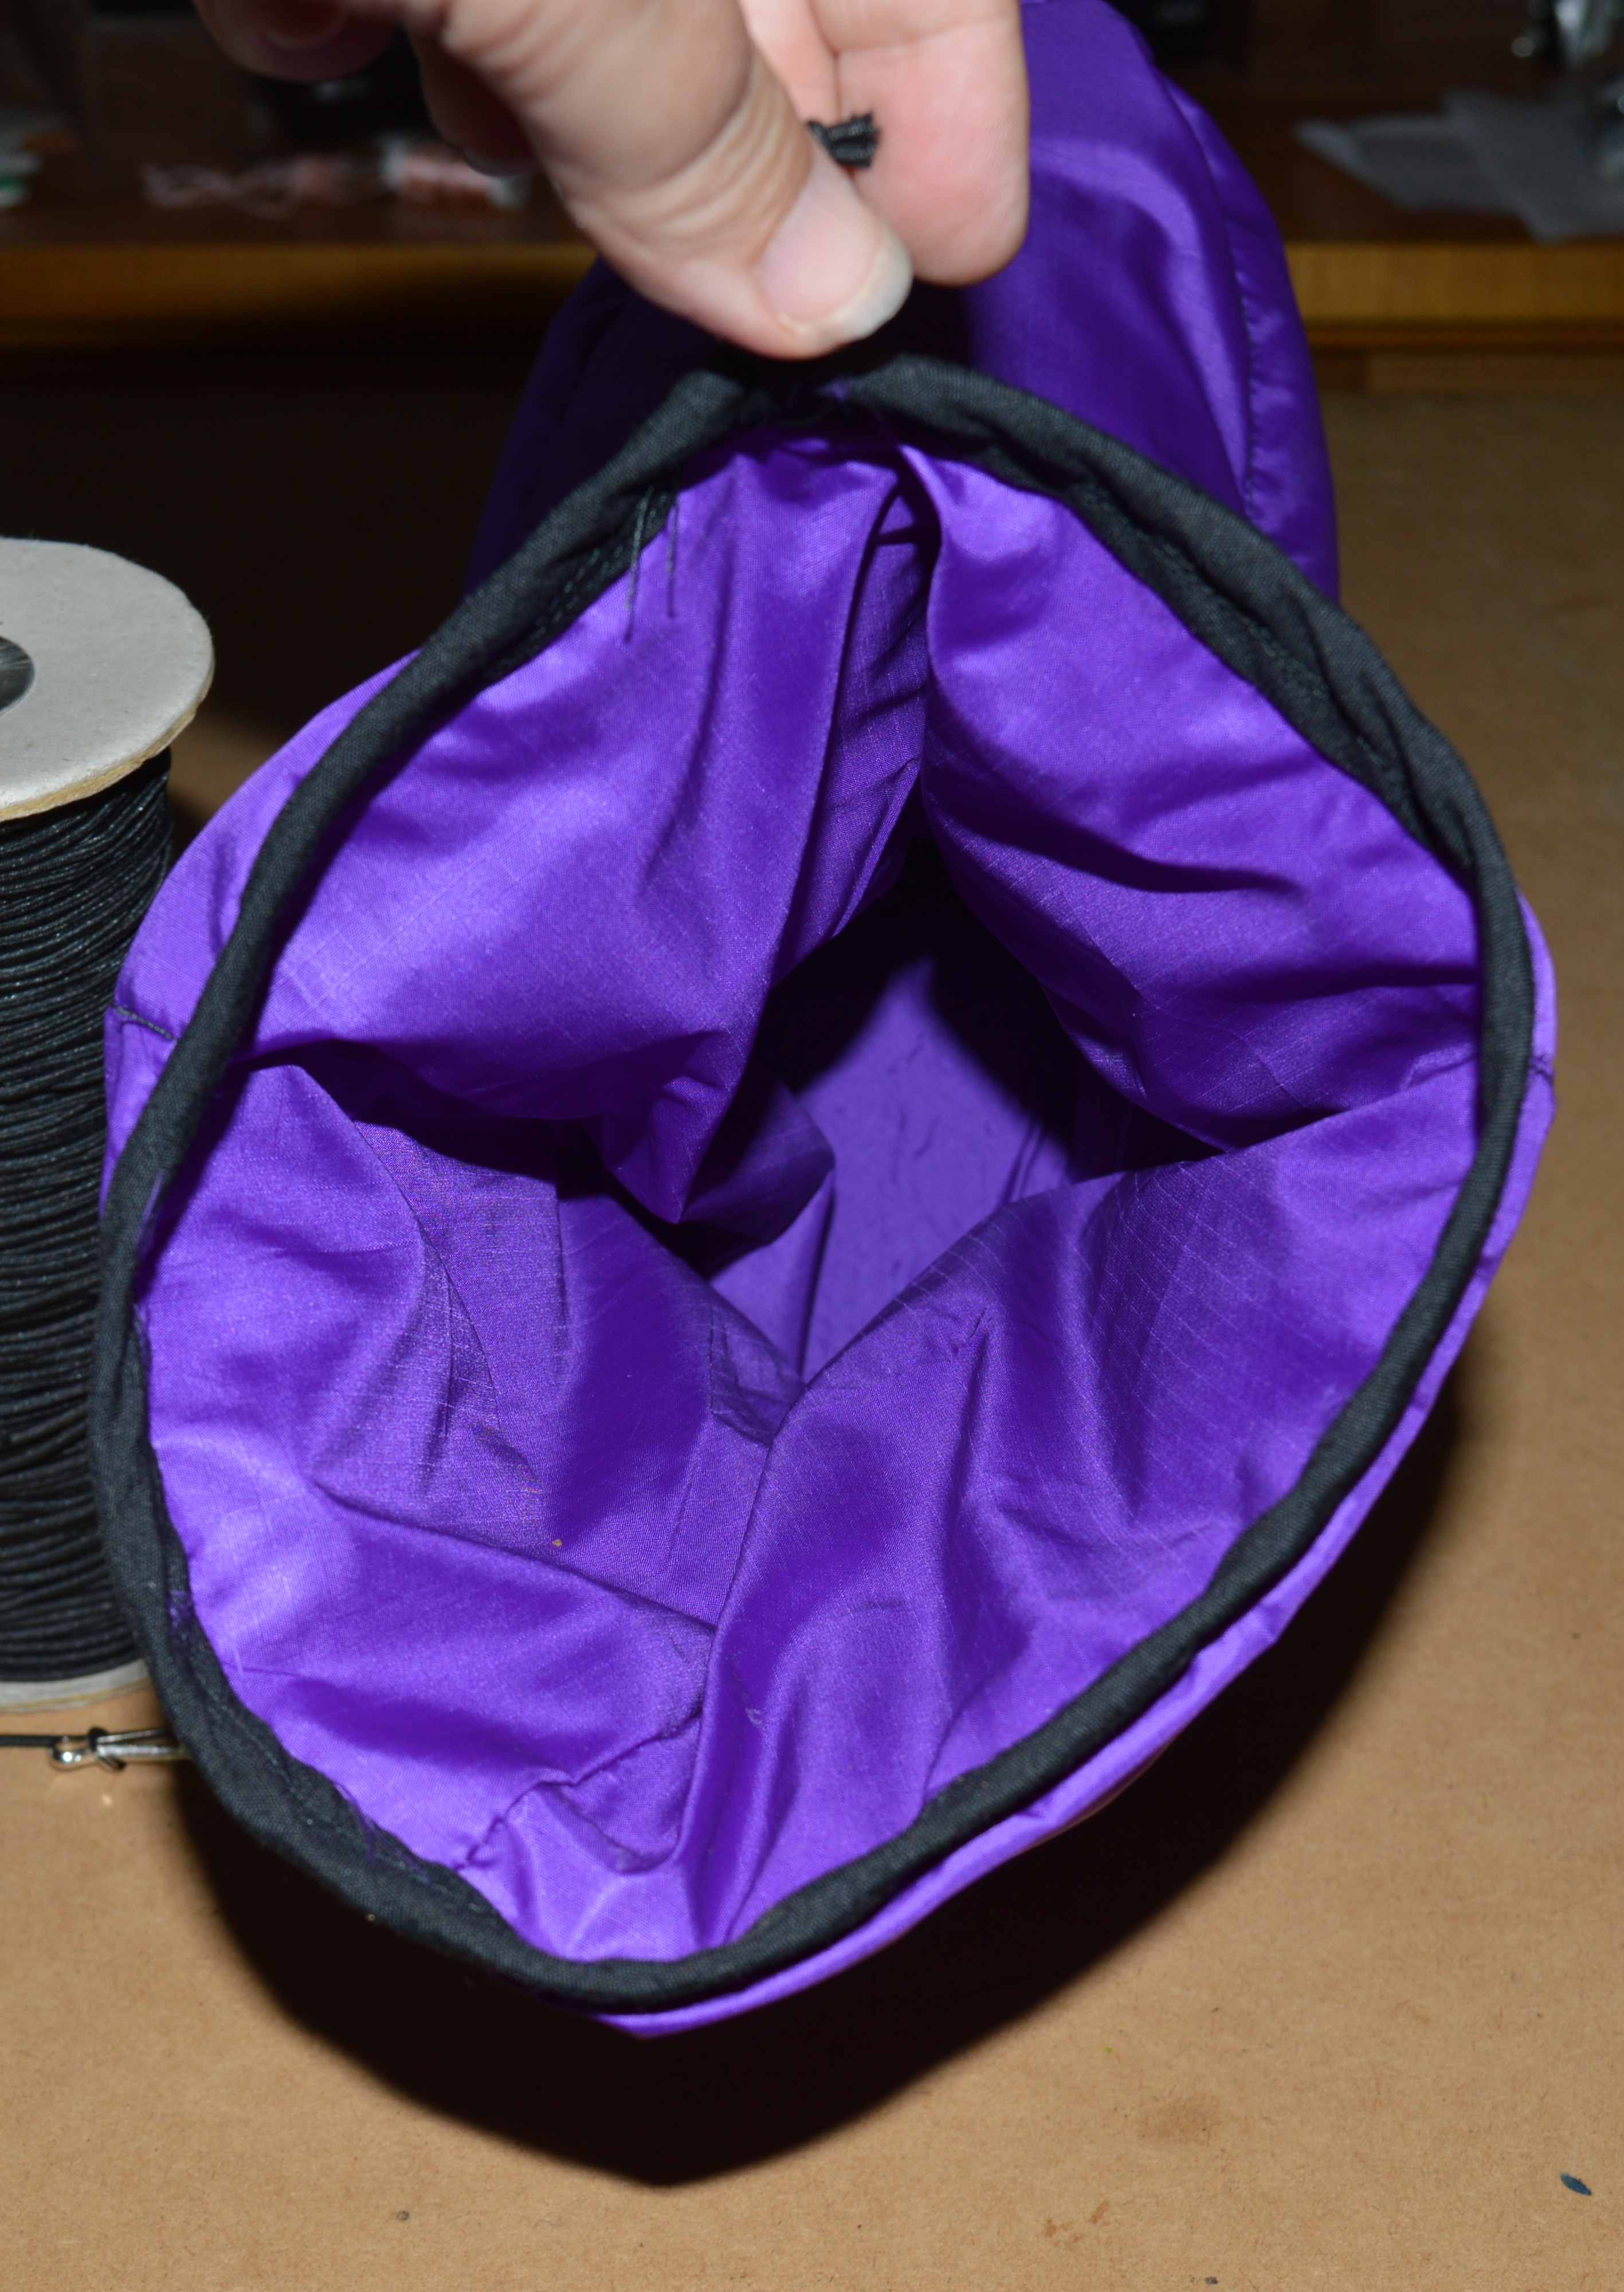
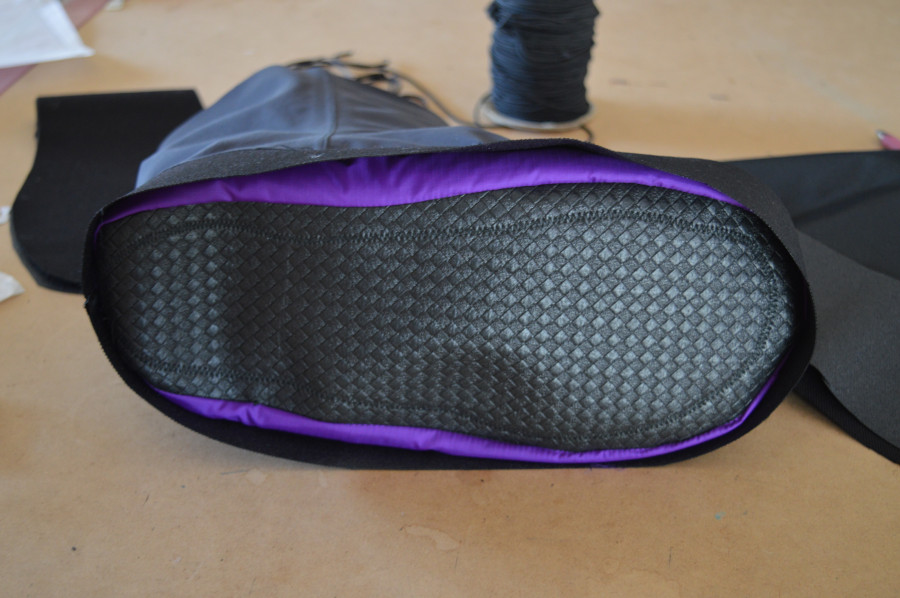
I also used the original inner pattern to line the inner. This kept all the seams enclosed and helps stop the pillows being wedged apart at the toes. The inner liner is stitched onto the sole so that the foot doesn’t shift around inside it. The sole of the liner is made from gripper mat so it won’t slip against the foam liner in the shell. Well, sounds good in theory anyway.
On one of the Exped boots, the specs said that the cord locks were from glow in the dark plastic, so you can find them in the dark. I’ve used glow in the dark paint to put my treefrog logo on the back. The toes face left or right so you can tell which foot to put the boot on.
The final weight for the shell & liner was 145g. Not bad considering there is a 1/2″ thick foam innersole in them. The commercial boots were between 95-200g so I haven’t done to bad.
He’s happy with them, so I guess that is a job well done.
Quick specs:
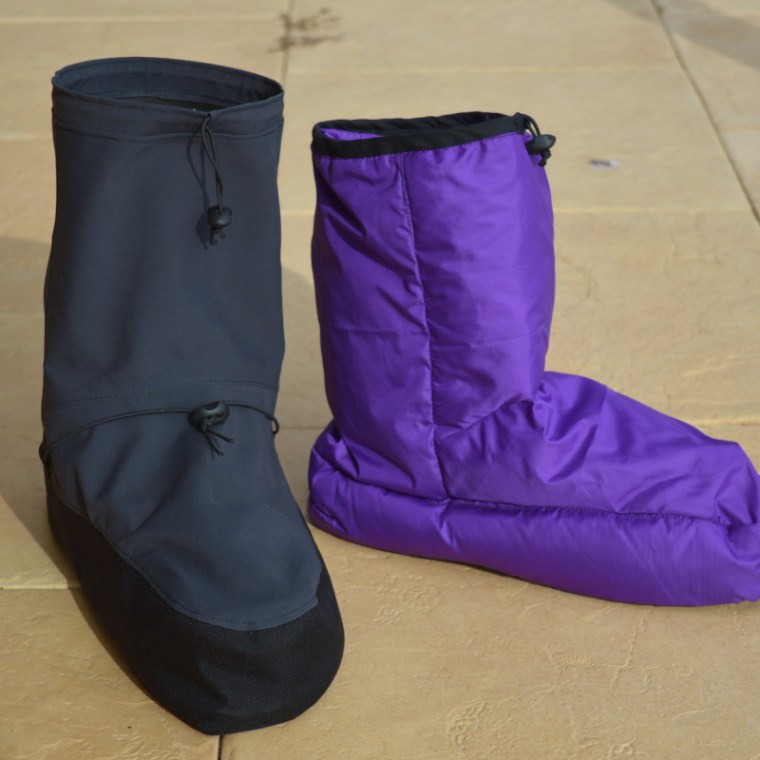
Outer shell ( waterproof):
- Goretex upper
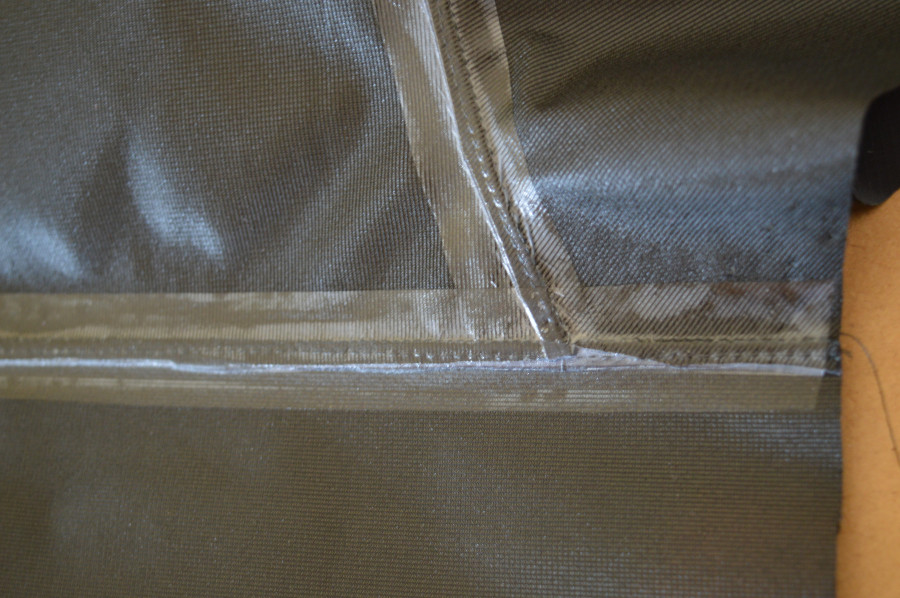
- Cordura sole & sidewall with bonded waterpoof layer
- topstitched & seam-seal tape on all seams
- glow in the dark logo
- 1/2 thick removable foam inner soles
- elastic drawcord at top of boot & at ankle
Inner down boot:
- ripstop nylon
- goose down fill
- non-slip sole
- fully lined
Construction photos
Here are some pictures of the construction. I didn’t take a photo of stuffing the down in as it was a bit messy.


Wow! You make amazing technicalstuff. That’s a pretty good Christmas present. Awesome work!
LikeLike
Are you an engineer by trade as this is some serious work to produce a brilliant boot with its partner to appear when the weather cools. Your logo on the back is a brilliant idea.
LikeLike