
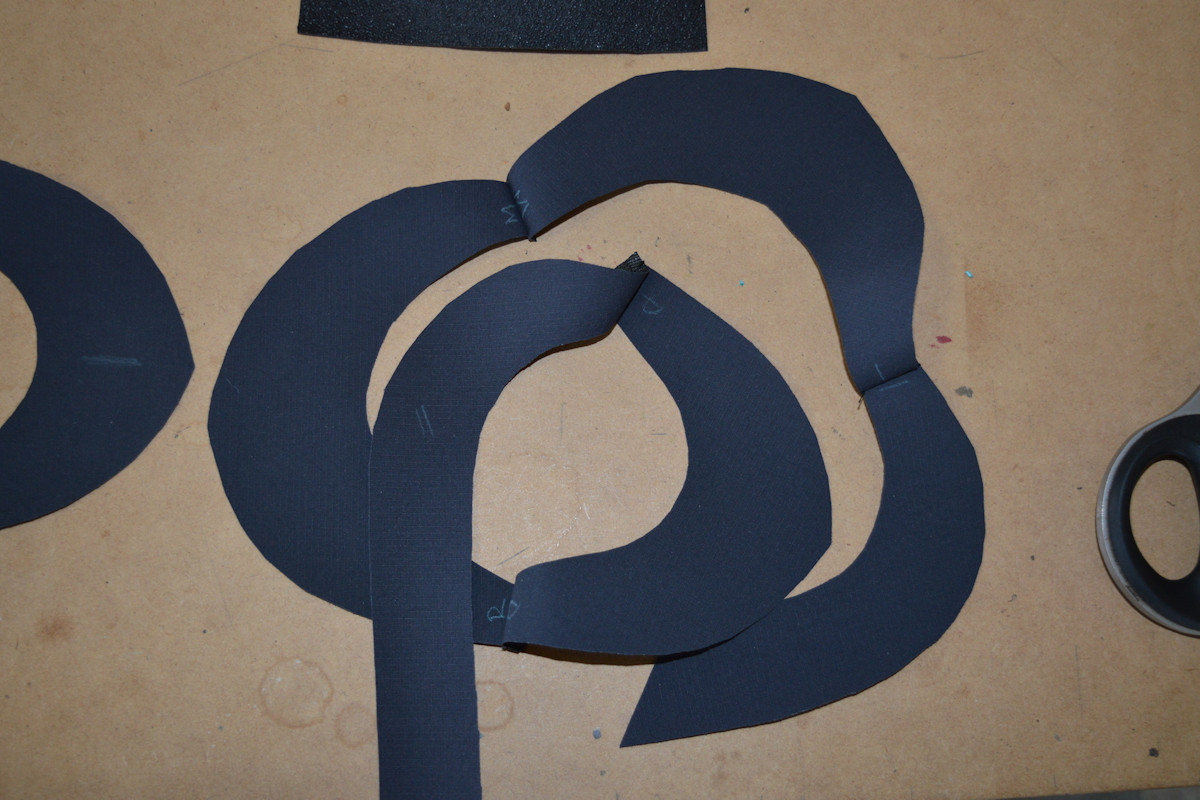
About 12 years ago I bought a fantastic yet very complicated pattern for shell gloves. And I’ve finally made them!!! It’s a mixture of relief, rapture, disbelief, adrenalin rush and blind panic all rolled into one. Don’t believe me – just check out the photo of the pattern pieces!!
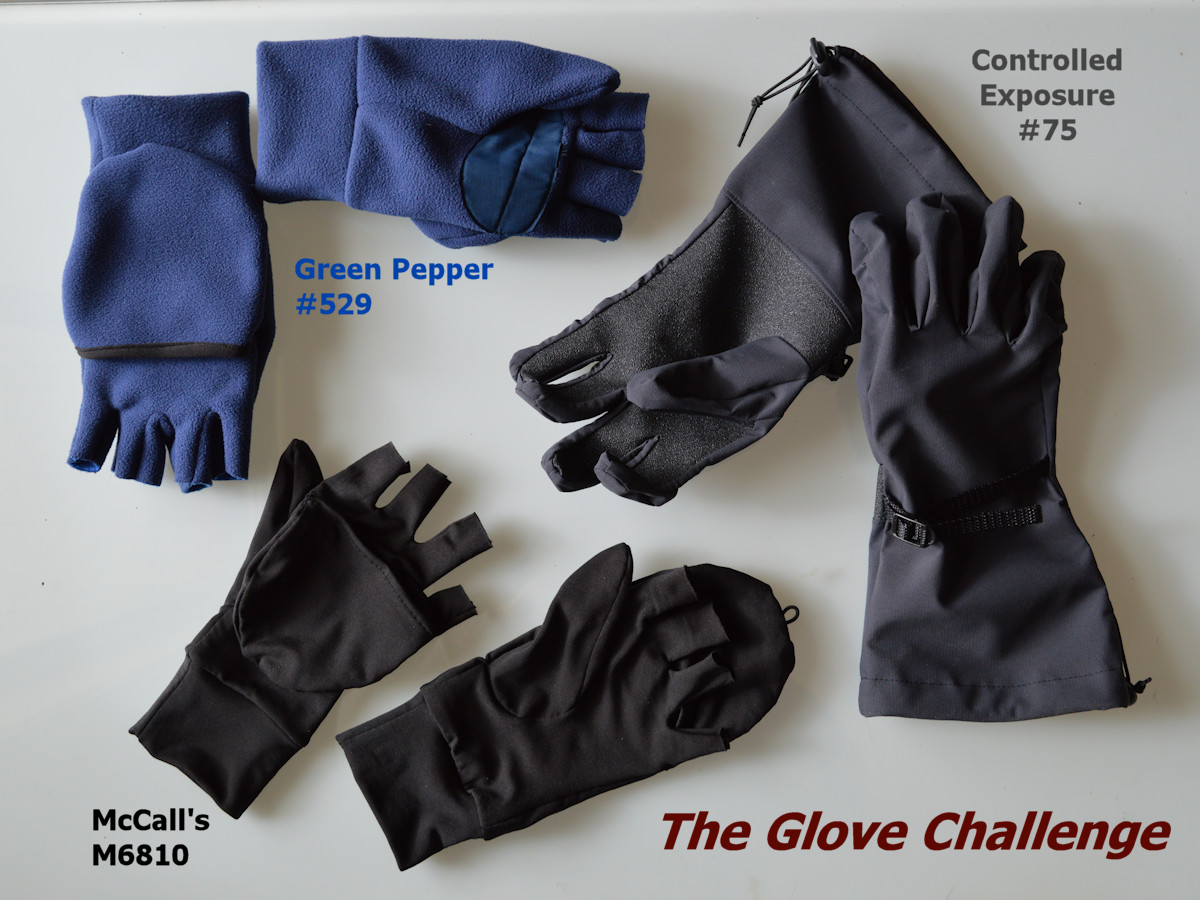
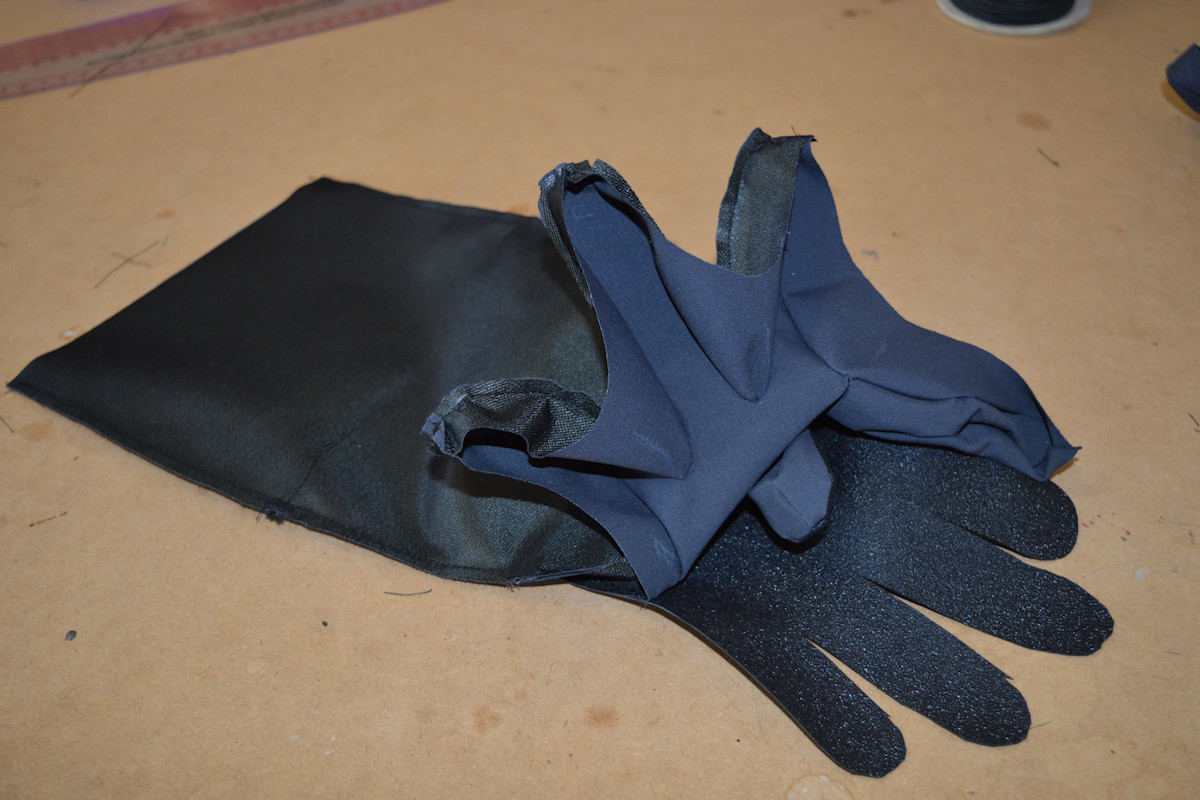
The gloves are designed to be used as a weatherproof shell for your gloves. I have a pair of the mitten styles which I bought when I first started cross-country skiing. Plus, I reverse engineered a pair for DH). They are great, but I find the mittens cumbersome. The glove style of this pattern sounded perfect. Especially this part of the description – “Unlike ‘2 dimensional’ overmitts that are flat and awkward, these are sculpted to fit the hand comfortably in a slightly curved finger position”. See all those curvy pattern pieces on the left of the photo? They are the finger gussets. The three shapes in the centre of the photo form the thumb, complete with a bend. Scary, no?

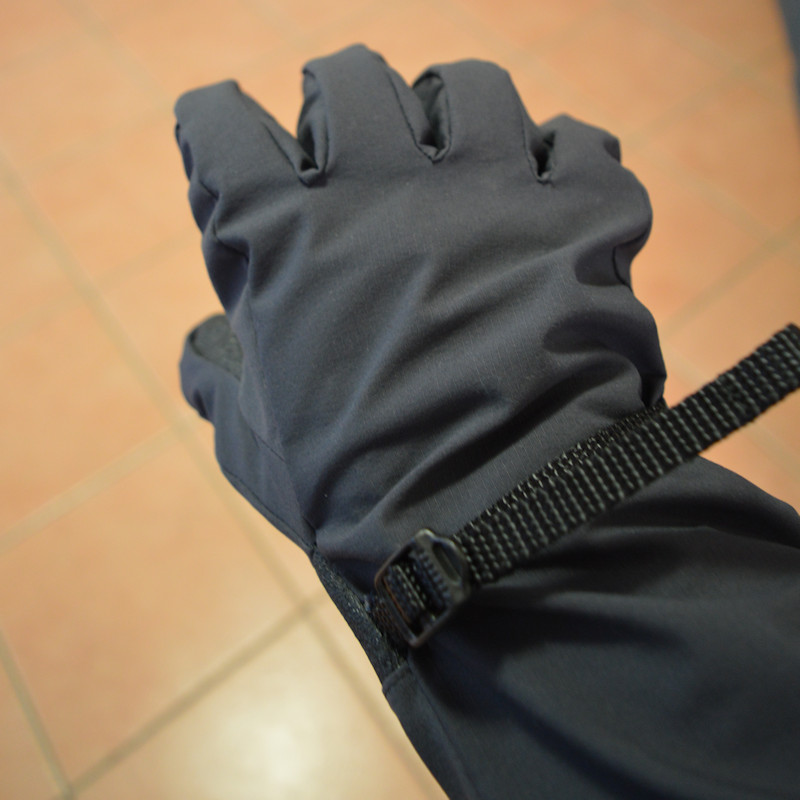
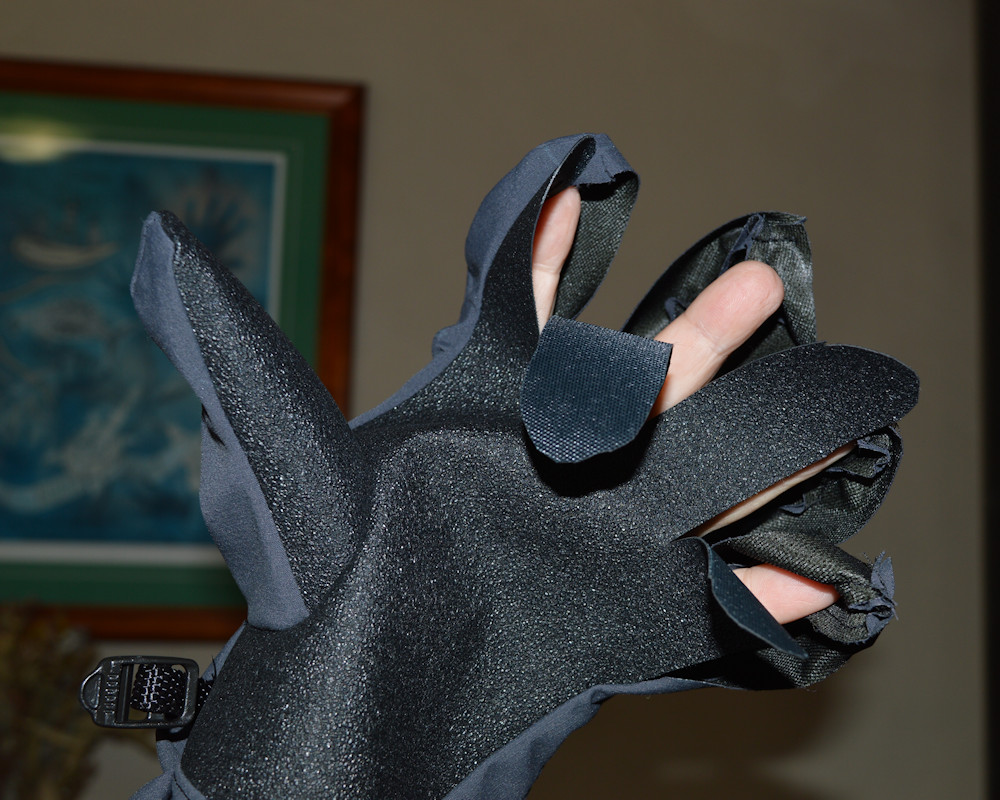
Here are the finished gloves. It’s hard to capture their true shape, but ‘sculptured’ is a very fitting description. How they came up with the pattern, I have no idea. The pattern instructions are excellent. I plodded through, trying to be as accurate with the 3/16″ (4.5mm) seam allowance as I could. Magically, all the notches lined up. It all worked wonderfully.

The fit is great. I can get them over my favourite ski gloves – not too tight or too loose. Awesome!!!! I’ve sewn the small based on the sizing table ( hand width & length). The pattern handles XS to XL ( length 6 1/4″ to 8 3/8″).
Goretex shell, tought tec palm. They cost me $5 to make ( give or take some grey hairs). An equivalent pair that I saw in Melbourne recently was around the $240 mark.


The journey
Construction
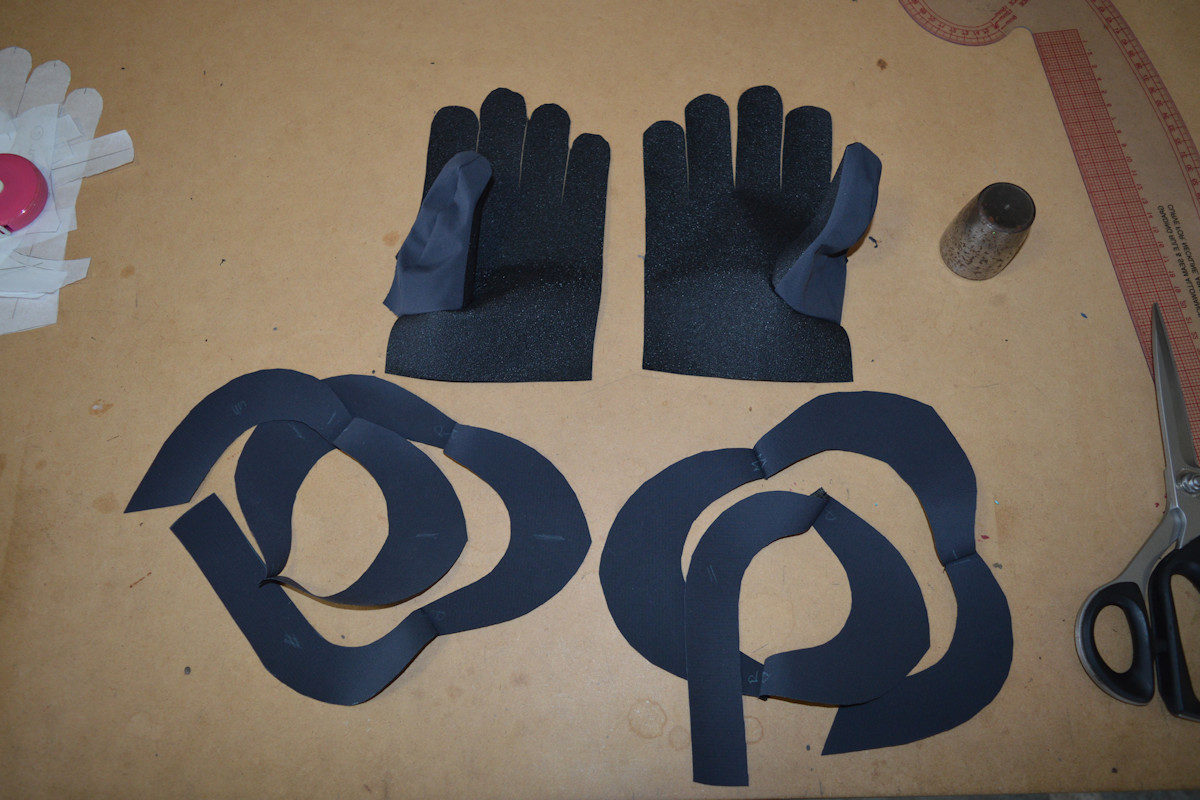
I took some photos of the construction process. The instructions are very well done and easy to follow. The stitching needs to be very accurate, and is s-l-o-w at times, but all the notches line up amazingly well.
The hardest part is step 2, when the three thumb pieces are joined. I’ve sewn a small so the curves were quite tight and the ToughTec doesn’t bend well.
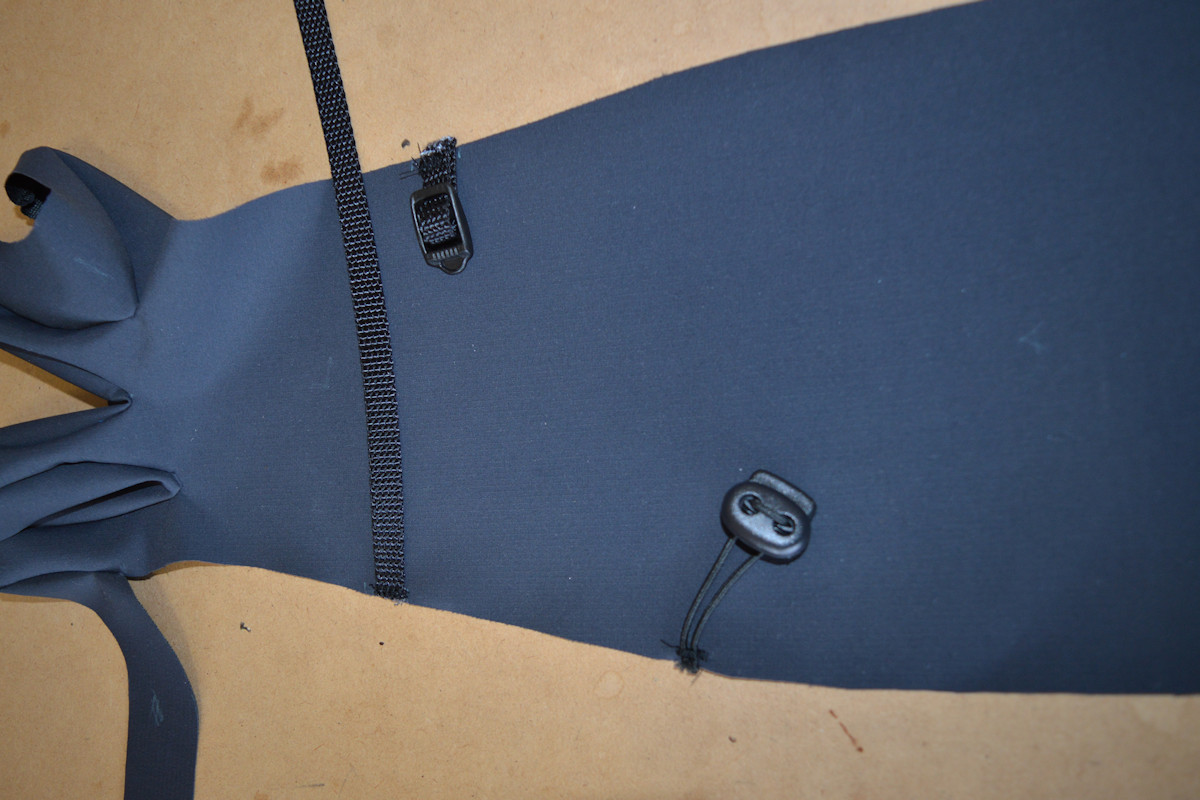
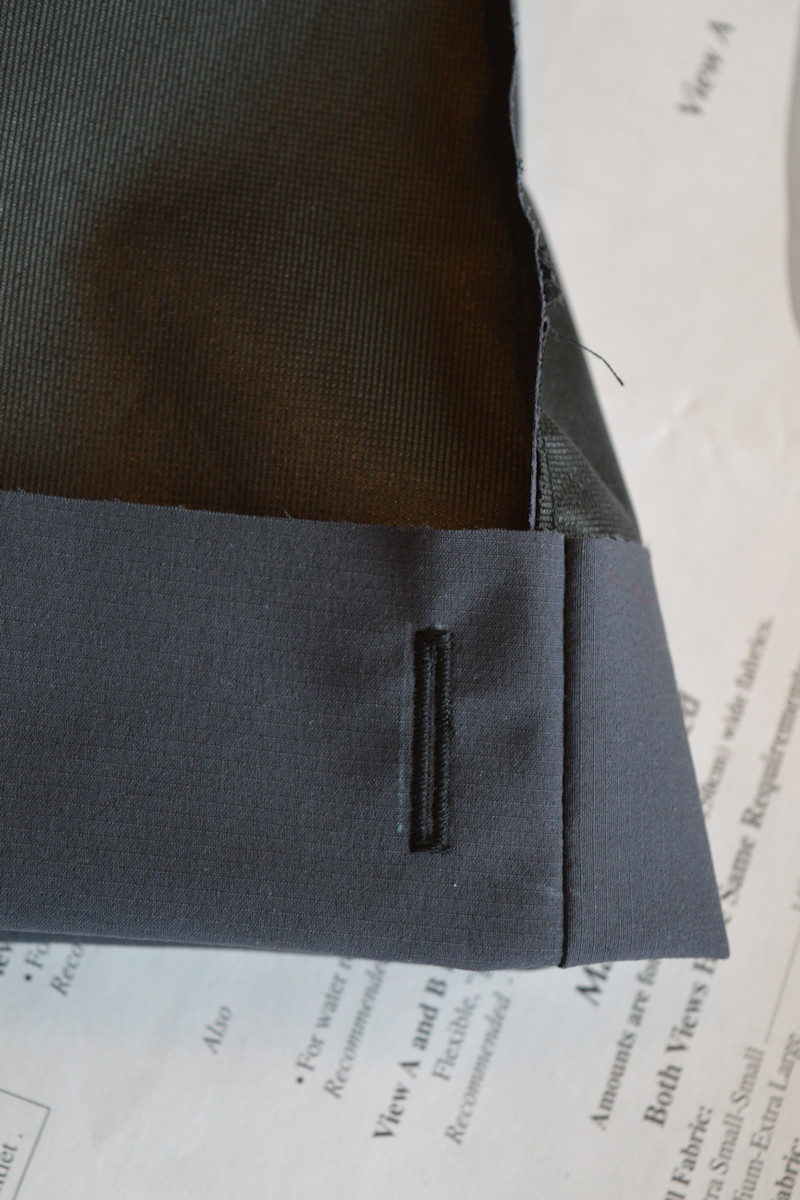
The scariest is the second last – stitching a 1″ buttonhole on the finished glove. Just hold your breath and hope that the buttonhole doesn’t goof up and ruin the whole thing!


Wow! These look very professional. And the buttonhole is beautiful. I am always impressed by your outdoor gear and also the range of outdoor things you do. Where did you buy the goretex and toughtek?
LikeLike
Thanks. Are you still going lots of kayaking? I’d really love to do a paddle along Abel Tasman NP one day. The fabrics came from Seattle Fabrics a long time ago, but you could also try The Rain Shed. Avoid Rockywoods as they scammed me.
I was also lucky to pick up a Goretex equiv from our local fabric mill who had contrasts to supply military fabrics. The inside face was slightly off-colour so I got it for $3/m 🙂 They’ve just closed their outlet which is a big bummer
LikeLike
Amazing! That is seriously mad sewing skills. Thanks so much for sharing.
LikeLike
Thanks. I think ‘seriously mad’ describes me well 🙂
LikeLike
Wow these are very impressive and can see how the grey hair or two was achieved.
Oh no about the store I am on way to The Wool a day Sheep Show at Bendigo and am staying at Wangaratta tonight and doing some shopping in the area tomorrow.
LikeLike
Aghh! I only just read your message. It would have been great to catch up with you. Did you get to the Shed Sale at the Woolen Mills in Wang on the Saturday morning? I didn’t get to it, or Bendi, this year. Luv wathcing the sheepdog trials at the show
LikeLike
It would have been great to catch up but tired the email address I have but it didn’t work. Yes we got to the Shed Sale at Wang and also to Bendi just loved it, unfortunately I couldn’t work out what time the sheepdog trials where as I wanted to see them.
LikeLike
Glad you had a good trip. Maybe we can catch up next time
LikeLike
Hi,
nice writeup, I ordered this pattern myself. As I can’t tell from the description: Has the seam allowance still to be added to the outlines of the pattern parts?
Thank you,
Mark
LikeLike
Hi Mark,
Just fished the pattern out to have a look. The seam allowances are included ( 3/16″). Hope your project goes well. It is quite a fiddly, but well worth it.
LikeLike
Do you still make these? I’d be interested in a set of “Controlled Exposure” size XL.
LikeLike