
I’ve had a very trying week warping up the loom for my huck lace top. But like most things, you learn so much when things go bad.
This is a warp chain of 700 threads. It is the first time that I’ve used so many threads for a warp. The most I’ve used before was around the 250-300 mark. Each shaft has had an extra 100 heddles added to it. The warp is a 10/2 cotton, supposedly mercerised, but quite dull looking. I’d used it to do my sampler, so I wasn’t expecting any problems. I finished the initial cone and started on another.
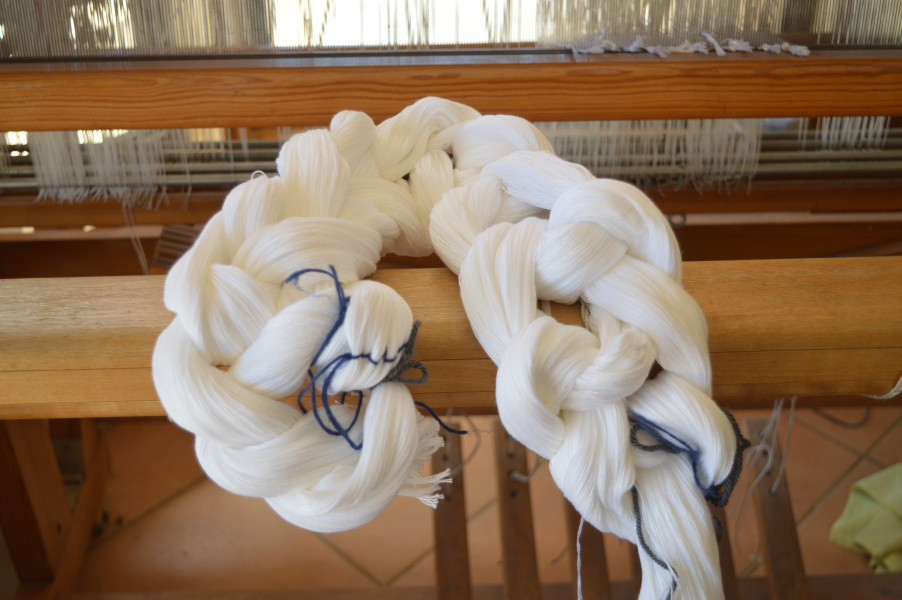
I learnt to warp front to back, which starts by sleying the reed. For this warp, there are two threads per dent. Since I still had the threading from my sampler, I tied the centre 150 threads onto the old warp to save time. At this point, I thought it was strange that the threads were looking a bit messy. The choke was tied securely so I figured they would straighten out once there was tension on them.

Threading the heddles on this loom is very uncomfortable and I need to take a lot of breaks so my neck and shoulders don’t tighten up. My plan was to do 50 heddles, twice each day over a week.
I’ve been looking into the ergonomics of the process to make it easier. I’ve jacked the back of the loom up, so I’ve got a better line of sight to the reed; taken both the back beam and bottom bracket off the loom to get better access; and dropped the height of the loom bench so I’m not ducking or lifting my shoulders as I thread.
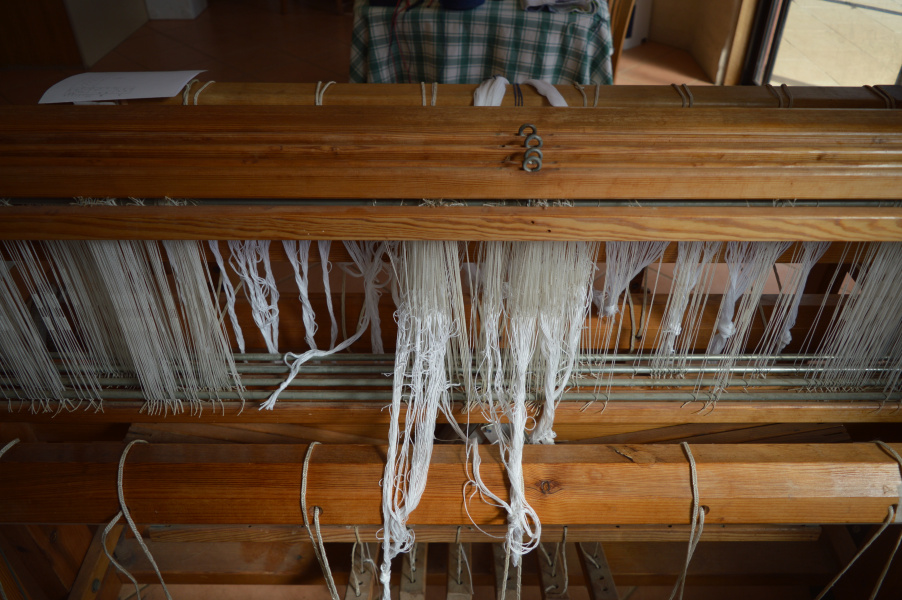
** threads on top are from a skipped dent ;-(
While my neck and shoulders were OK with this new setup, by day 3 the middle of my back was getting very cranky. I’ve gone back and fixed up the skipped dent. At least I hadn’t gone too far before I noticed it. One thing that I was finding was that the threads were twisting up on each other rather badly, making progress slow.
By day 6 of threading, I had the threads tied onto the back beam and started to wind the warp on.

I’ve never had a problem winding on, but the threads just wanted to twist around each other and bind up. I think I broke about 20 in the first four turns of the crank. I finally mastered the art of a weavers knot in trying to fix them. In the end, I cut off the back of the warp; replaced broken threads and re-checked the entire threading.

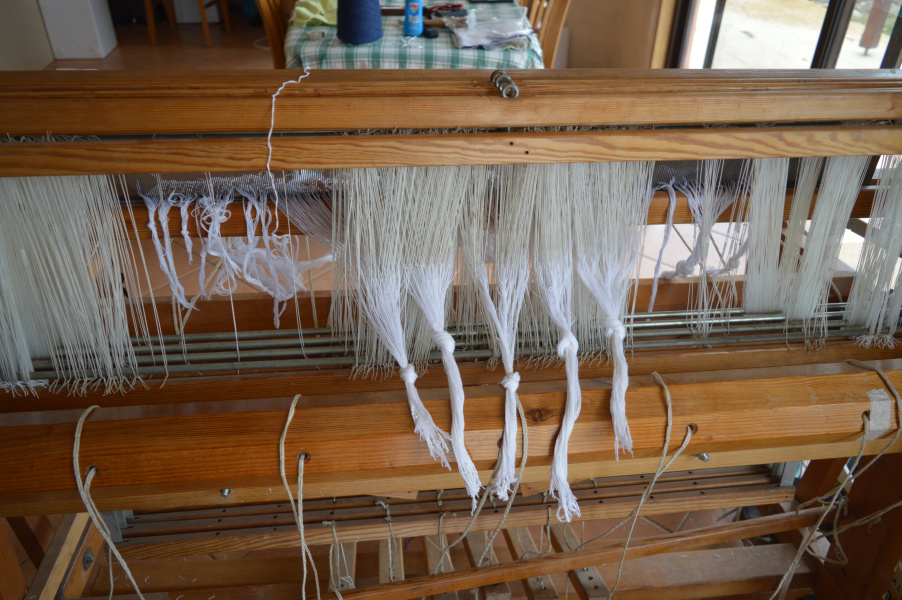
Tied off and winding on for the second time. I also put lease sticks in before the reed to help separate the threads.

Very slow going, with lots of twists and lots of thread breaks. By this stage, my back is really screaming at me. I’m wondering what is going wrong, even after all the care I’ve taken with winding and threading. All the twisting and breaks are in threads from the second cone. Giving it a closer look, I find that the thickness and amount of twist varies along the thread. Some sections are over-twisted, some have very little twist. And it is so weak. When I give it a gentle pull, it just breaks. I came to the conclusion that I’ve got a dud cone. In frustration, I pulled the entire warp off.

Day 7, I had a chat with other weavers and the advice was resoundingly to avoid that brand of thread. I also learned about the differences between carded, combed and ring spun threads. What I thought was a bargain thread at half the price of a well-known brand, was actually the cost difference between carded and ring-spun processing. Yup, I guess you get what you pay for.
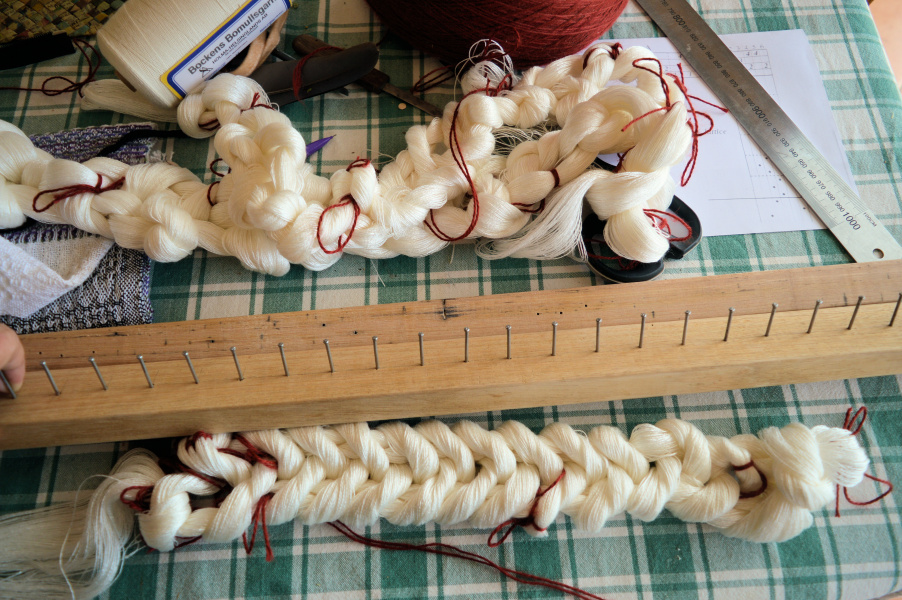
Not to be defeated, I started winding a new warp using a 10/2 tencel.

One of the other bits of advice I was given was that it was easier to warp back to front when there are multiple threads per dent. I’d been meaning to try this method, but didn’t have a raddle. It’s just a stick with a nail every inch, to separate the warp as it’s wound on. Mr Treefrog, the woodworker, to the rescue. Between us, it took about an hour to dress the timber and put in the nails. I learnt that the easy way to drive the nails in to a consistent height was to use the drill press. Just set the depth stop and pull the lever down – so easy – and no squashed fingers!
Thanks to you-tube, I watched a few videos of the warping method. I didn’t want to shift my heddles, so I used the method with the raddle placed on top of the castle, rather than on the back beam.

Soon the warp is almost on. No tangles, just relief!

Day 8. I’ve started the threading. The breast beam is off and the reed is taken out. I can’t believe how much more comfortable the threading is on this side of the loom. And with the cross held on the lease sticks, it is so much easier to pick up the right thread. Overall the process was a lot faster, more accurate and more comfortable than from the other side. I really didn’t expect that it would be very much different. With a break every 100 threads, I had all the heddles threaded and my back was fine!

I pushed on. Putting in the reed and getting half of it sleyed before calling it a day. It was getting dark and out of the corner of my eye, I could see the treefrogs running up the glass of the window to start catching moths.

This morning, I finished sleying the reed. So much easier picking the threads off the heddles. Normally I tie the threads onto the front apron, but I decided to try lashing them on instead. Again, much quicker, and almost self-adjusting!
Checking for threading errors – 5 threads. One where I’d missed the heddle entirely and 4 where I threaded above the heddle eye. No crossed threads, missed dents or pattern errors. So, I think I’ve sold on this new warping method – much faster, more accurate and definitely easier on my back.

Yay! I’m now ready to weave!
The first warp was really frustrating but I learnt heaps from the process. Sometimes you learn more when things go bad than when every thing is cruising along.

What a challenge but so glad you have found a much better way to do it and that your are now in a position to start weaving.
LikeLike