
I’ve been wanting to draft my own pattern for cycling shorts for years. And I’m not talking about leggings here. Real bike shorts designed to work with the shape of your leg while cycling, not standing. I decided to go the whole hog and draft a pattern for bib shorts as well as a raglan jersey. Here’s the story….
I’ve had a lot of sewing time this week watching the Tour de France. But you can get a fair bit of pattern-making time in during a 5hr stage. “Watching” is probably a loose word as the Yellow and Green jerseys have already been decided, so I’ve actually turned off the TV before the end of the Alps stages when the break-aways were caught. So disappointed that most of the sprinters didn’t make the time cut. 😦
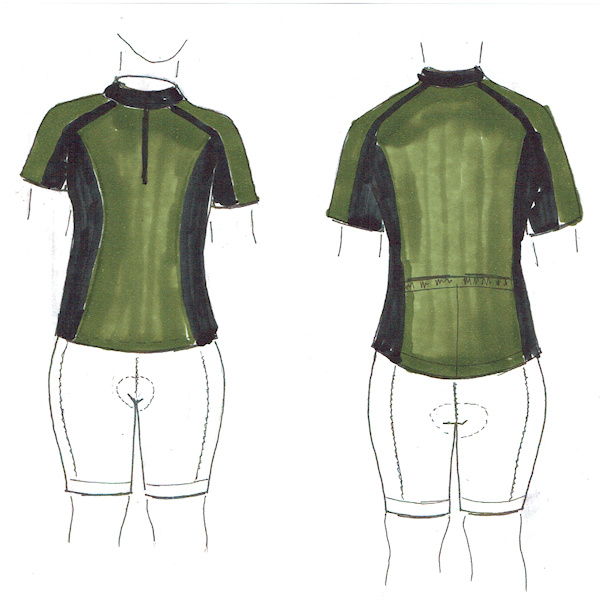
Cycling raglan sleeve jersey
Last week I tried to make a jersey using a Kwik Sew pattern, but didn’t like the seam shapes. I draped fabric over the sleeve and drew lines for potential new seamlines until I found something that I liked.
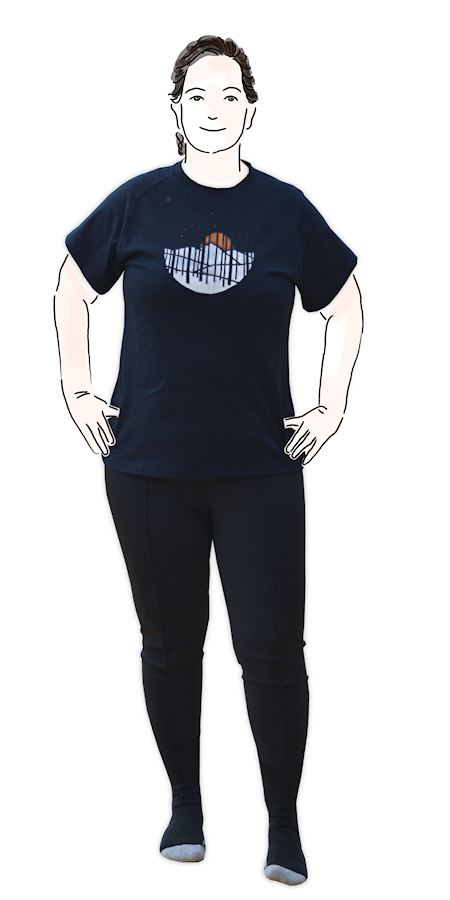
Last week I also drafted a polo shirt from scratch, so I used that block as the base for creating this jersey. Doing the raglan sleeves was in interesting process. The first draft was for a relaxed fit, so I made it up as a T-shirt to see how it would go. The sleeves are a bit wing-ish as I overlapped too much of the shoulder point and didn’t have enough of the black knit to recut the sleeve.
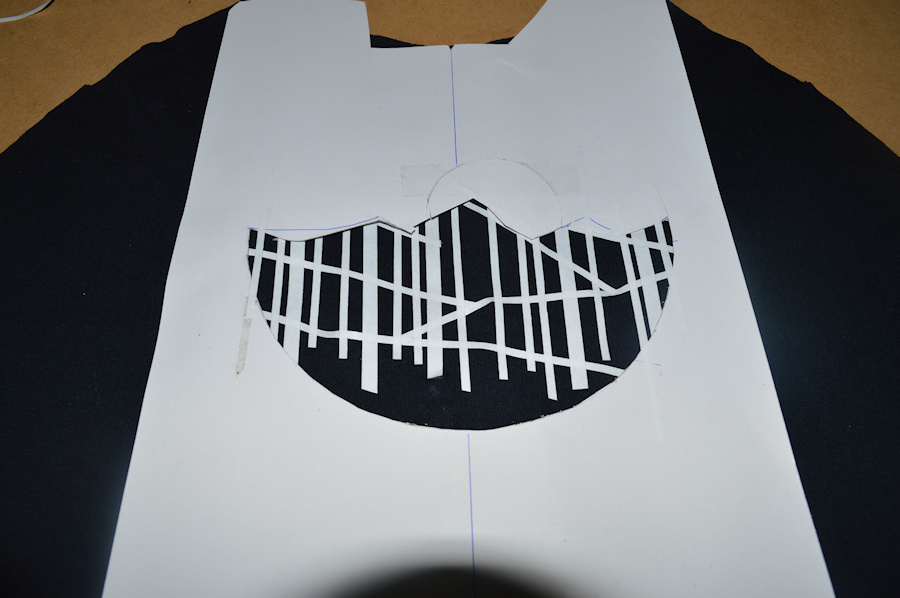
I’ve had a play with fabric paints on this one. Adding strips of masking tape as ‘trees’ and making a cardboard stencil to get the outline. The half circle for the moon was taped in place while the white section of paint was done.
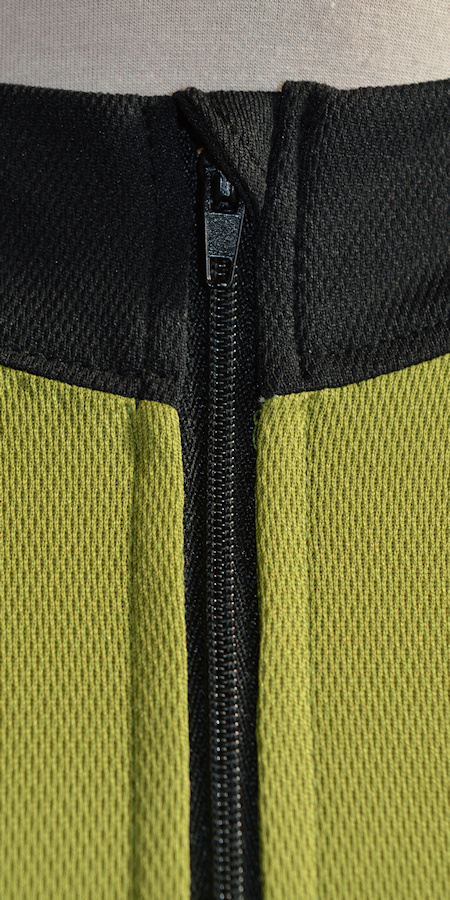
After the T, I made some changes to the sleeve and then set to work on the pattern for the jersey. Applying a stretch factor reduction, adding the colour blocking on the sleeves & body, merging the side panel, drafting the collar with back pockets and doing the hi-lo hem. I was tossing up whether to have a square or tapered collar and decided on the square collar with a zipper guard. Adjusting for the stretch was a bit nerve-wracking as various books show different ways of doing it. I tried two methods and they both gave similar results and were in the ball park of a TNT pattern that I had.

I’ve used a sports wicking fabric but just not the top shelf stuff for version 1. The hem has gripper elastic. The placement of the back pocket is a tad high and the bust point is different between my underwire and sports bra. Also needs a tweak to the collar. But, I think it is pretty good, considering it was drafted from scratch.
Bendy bike tights
The pattern for these came from my first pair of bike tights. Come to think of it, this was the first pattern that I knocked off. That was about 15 years ago and I’ve made five or six pairs from that pattern. I was looking at it with fresh eyes this time as I figured out how the pattern was developed. Rather than being a collection of strange shapes, it actually made sense. As a test, I started with a leggings block and manipulated it to recreate the pattern, even making adjustments to get the knee position right. By that time it was almost two in the morning and the dog didn’t appreciate me dancing around the room and waking her up in the process. It’s sad when even your dog rolls its eyes at you and silently tells you to go to bed 😉
I made up the new pattern using a heavy weight spandura and stitched with a three thread flatlock. Standing up there are wrinkles at the knees and it feels tight on the hip flexors, but on the bike it felt perfect.

Bib shorts
I worked though a similar process for the tights to make the shorts, although with more of a standard 8 panel construction. I had planned just to make normal bike shorts but decided to try to make a bib for them. I had been doing some snoop shopping, so I had a rough idea of the measurements and design considerations for the bib draft. With no waist elastic they are supposed to be more comfortable to wear, although going to the loo requires taking your shirt off first.
Here is version 1. I’m pretty chuffed with how they turned out. I was a little more confident with the fit of the shorts component, so I used one of the fabrics you selected for me back in May. Just need some minor mods to the bib at the front, but other wise, they were great to wear.
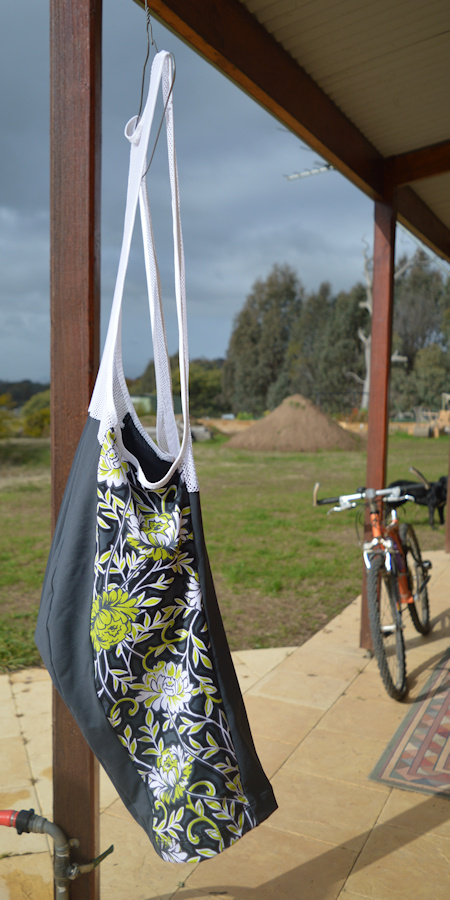
Sad bike in the background with flat tyre 😦
I’ve used a chamois from Aerotech Designs in these. At the moment they are just basted in with a wide zig zag to check placement. I only went for a short ride on the mountain bike but was really impressed with the padding. My mountain bike saddle has never been comfortable and this is the first time it didn’t notice it. The test will come when I jump on the bike tomorrow and go for a longer ride.
In all, I pretty happy with my pattern work. I’d like to go on a few long rides and see how these three pieces perform before making final changes to the patterns. Exciting!!!


Bravo! You know, I keep talking with my husband about uncomfortable bike saddles, and we’ve sort of forgotten about the existence of chamois.
LikeLike
Thanks. A good chamois makes a world of difference. I’ve ordered a couple more for the next pairs of shorts. They had a removable pad (silicon stippling on the underside to keep it in place) that I’ve also ordered to give a try.
Happy cycling 🙂
LikeLike
Very impressed with your drafting as all three pieces look very professional.
LikeLike
Just wondering how the chamois pads have held up?? I want to make a pair of bibs, but don’t own any to help me draft a pattern. I’ll have to go try some on and get an idea of what I’ll have to do. Everything you made looks great!
LikeLike
Hi Anna. The chamois have worked well. They had a few styles available for women’s chamois. I went for one of the more expensive ones suited for endurance riding. I can’t remember which one exactly. I also tried their removable pad, which worked well in the winter, but not so well in the heat of our summer.
If you are drafting your own, make the back of the bib longer, and the front shorter, so it works with you position on the bike rather than standing up. Good luck. I’d love to see what you make.
LikeLike